

Saturday, 04/04/2012
SR Big Single Cub, Chachoengsao organized its first trip to Khao Yai, a beautiful National Park in the East of Thailand. Start at 06am, return 6pm...320km....beautiful sceneries...and....
View Larger Map
Getting up so early wasn't easy and trying to push a sleepy woman to hurry up wasn't either. We were only 10 minutes late, a new record for her.

This bike got my attention early. I couldn't quite figure it out...with that engine it can't be a BMW, right?
Right! It's actually a Suzuki Temper ST400...

At around 7am, meeting in Phanom Sarakam. I can't wait to arrive at the National Park for some long-longed-for turns.

Let's go then!

Mr.Chen on his SR400 25th anniversary edition.

The guy in the middle came with his SRX and his family had to follow us in a car. Cool!

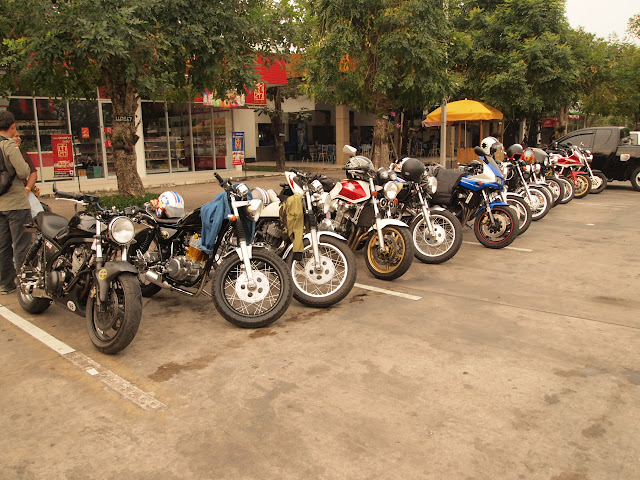
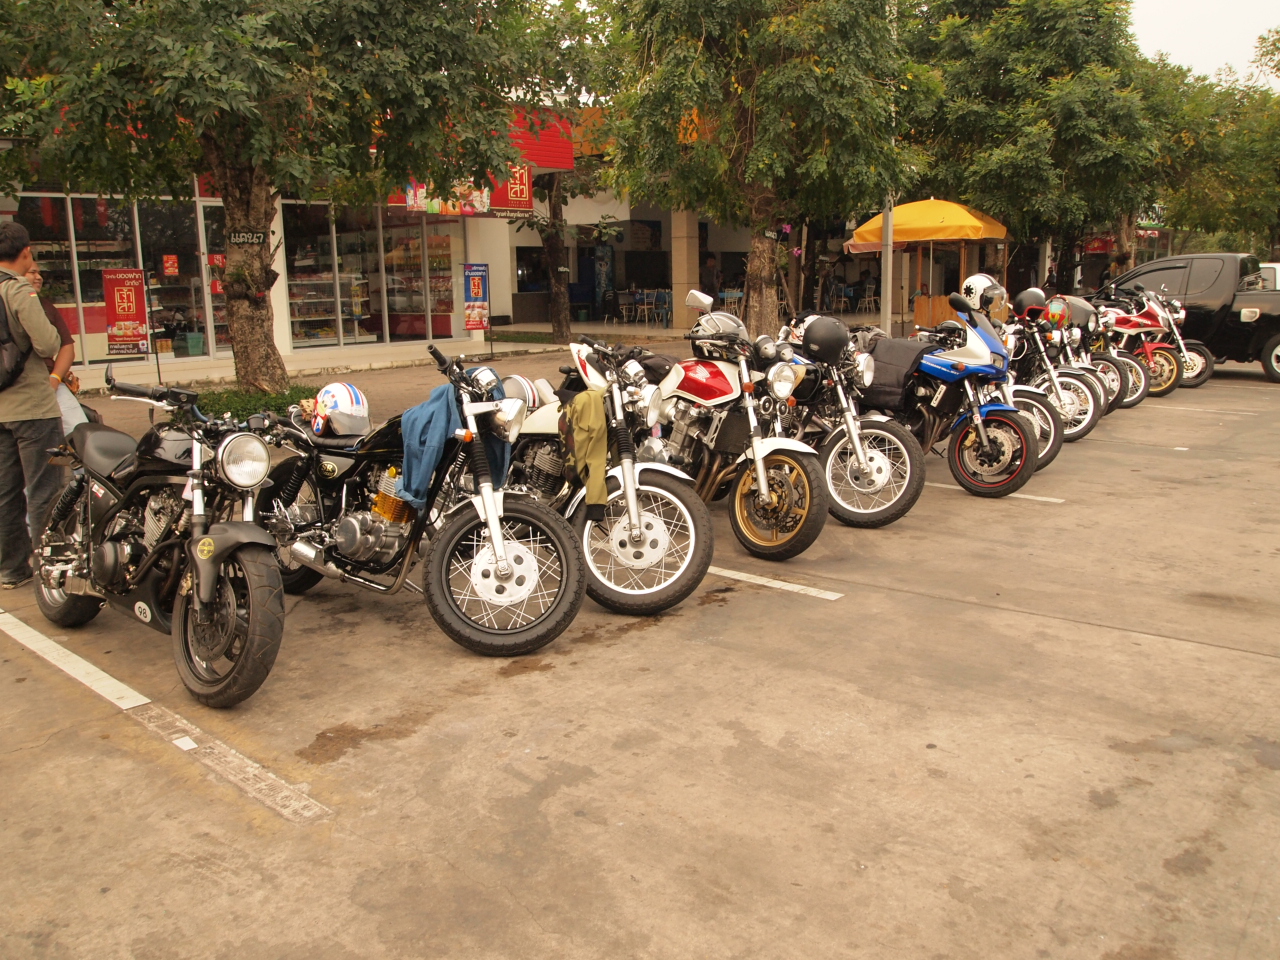
13 bikes...must be a lucky trip then...?!?

At the entrance of the National Park


Thai riders are very disciplined when riding in a group.

Happiness is....


The army guard asked me to fill out a 6(!) page long questionnaire about tourism in Thailand....being a farang (foreigner) always singles you out... :-)


Lots of monkeys along the way. I mean the picture below, not above!
 We've bent the time-space continuum and landed in Italy!
No, not really. This is a replica of a Tuscan village and a big attraction for mostly Thai tourists, who love to take pictures of virtually everything....even toilet signs...


They're all standing in a row because they're trying to stand in the shadow of the electricity pole. After 2 minutes in the scorching sun I joined them. haha
At that time I thought it was funny...now I'm not so sure.

A special mention should go to my lovely wifey, who was the only woman actually on a bike. No complains from her, apart from a few taps on the helmet or pinches in the ribs when my riding style became a bit to enthusiastic. I'm very proud of her. chuub chuub

On the way back the army guards stopped us. They were a bit pissed off about our modified pipes and that we made such a terrible noise. One thumper is loud enough, imagine 9 of them close together passing through an otherwise silent place. They gave us a 2000Baht fine which we split up in the group. Nevermind, I don't blame them...


Note to self:
Change those clip-on handlebars back to the original one as soon as possible. Although they look great and give a more aggressive riding style, they're shite when riding anything longer than 2 hours. It wasn't so much the riding position that disturbed me, it was the vibrations! They first numbed my fingers, then my hands, then my arms became all shaky and in the end they must have gone to my head too, because when I got home I had a bad headache that lasted until this morning.
So, this is the end of my 'cafe period' and the start of the new 'street-tracker period'. Next on my buying list are a pair of Dunlop K180!
SR Big Single Cub, Chachoengsao organized its first trip to Khao Yai, a beautiful National Park in the East of Thailand. Start at 06am, return 6pm...320km....beautiful sceneries...and....
View Larger Map
Getting up so early wasn't easy and trying to push a sleepy woman to hurry up wasn't either. We were only 10 minutes late, a new record for her.

This bike got my attention early. I couldn't quite figure it out...with that engine it can't be a BMW, right?
Right! It's actually a Suzuki Temper ST400...

At around 7am, meeting in Phanom Sarakam. I can't wait to arrive at the National Park for some long-longed-for turns.

Let's go then!

Mr.Chen on his SR400 25th anniversary edition.

The guy in the middle came with his SRX and his family had to follow us in a car. Cool!

13 bikes...must be a lucky trip then...?!?

At the entrance of the National Park


Happiness is....


The army guard asked me to fill out a 6(!) page long questionnaire about tourism in Thailand....being a farang (foreigner) always singles you out... :-)


Lots of monkeys along the way. I mean the picture below, not above!

No, not really. This is a replica of a Tuscan village and a big attraction for mostly Thai tourists, who love to take pictures of virtually everything....even toilet signs...


They're all standing in a row because they're trying to stand in the shadow of the electricity pole. After 2 minutes in the scorching sun I joined them. haha
At that time I thought it was funny...now I'm not so sure.

A special mention should go to my lovely wifey, who was the only woman actually on a bike. No complains from her, apart from a few taps on the helmet or pinches in the ribs when my riding style became a bit to enthusiastic. I'm very proud of her. chuub chuub

On the way back the army guards stopped us. They were a bit pissed off about our modified pipes and that we made such a terrible noise. One thumper is loud enough, imagine 9 of them close together passing through an otherwise silent place. They gave us a 2000Baht fine which we split up in the group. Nevermind, I don't blame them...


Note to self:
Change those clip-on handlebars back to the original one as soon as possible. Although they look great and give a more aggressive riding style, they're shite when riding anything longer than 2 hours. It wasn't so much the riding position that disturbed me, it was the vibrations! They first numbed my fingers, then my hands, then my arms became all shaky and in the end they must have gone to my head too, because when I got home I had a bad headache that lasted until this morning.
So, this is the end of my 'cafe period' and the start of the new 'street-tracker period'. Next on my buying list are a pair of Dunlop K180!


